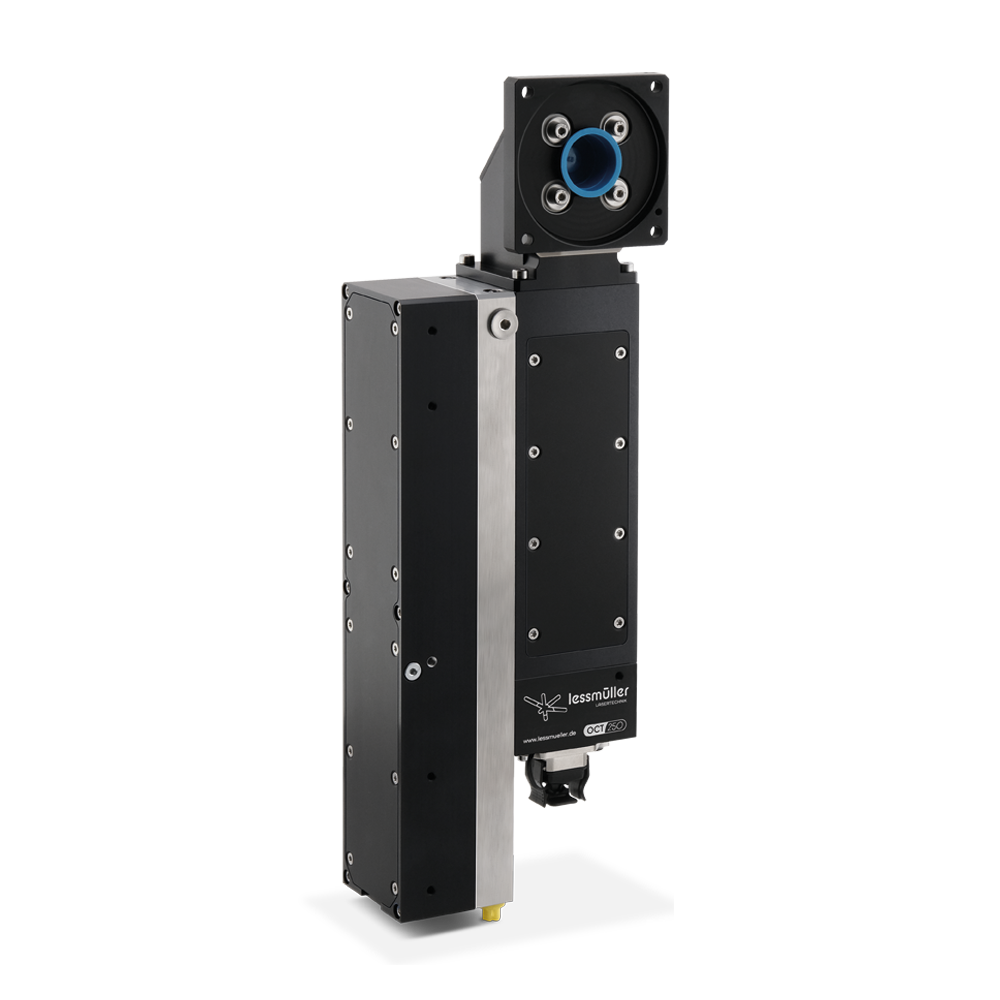
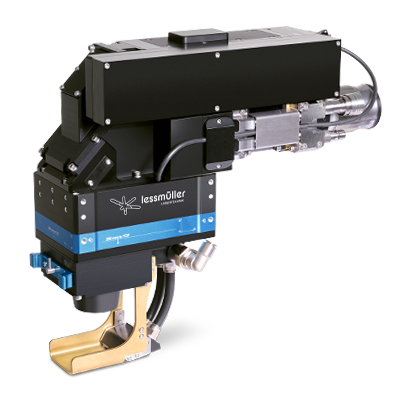
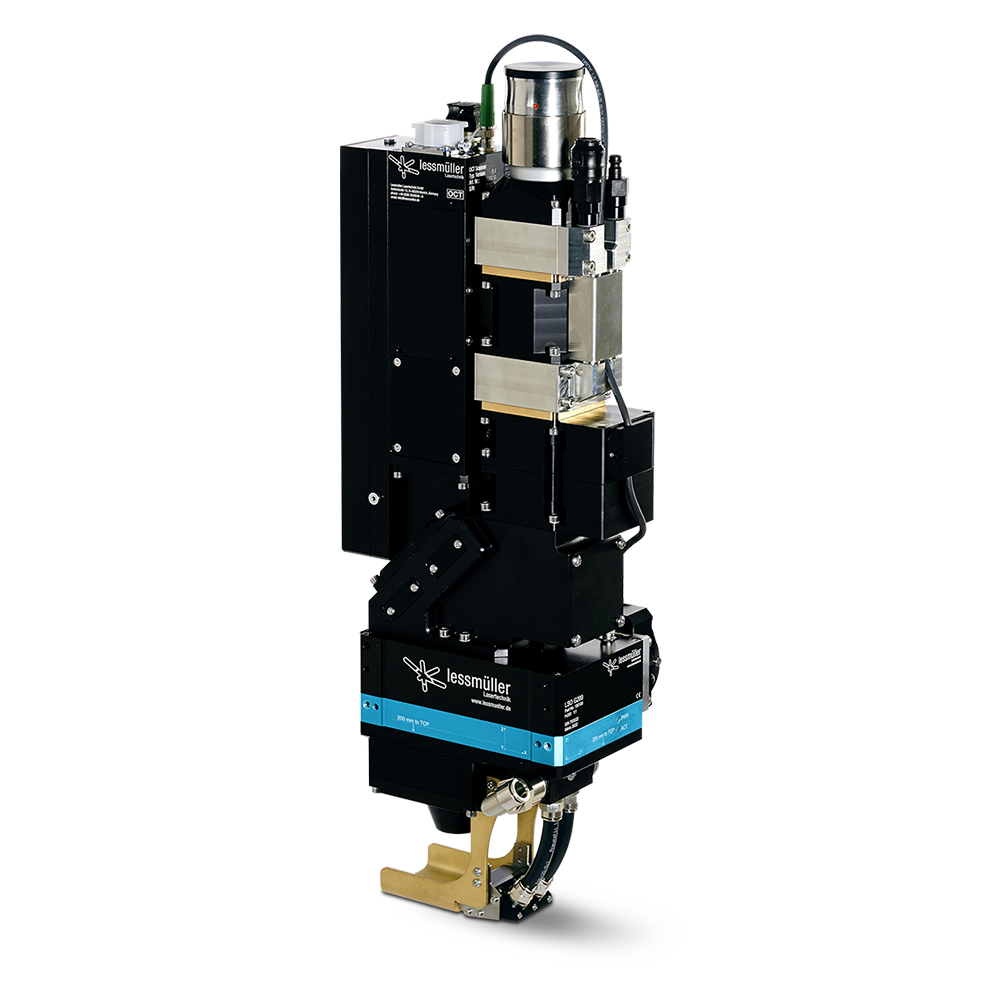
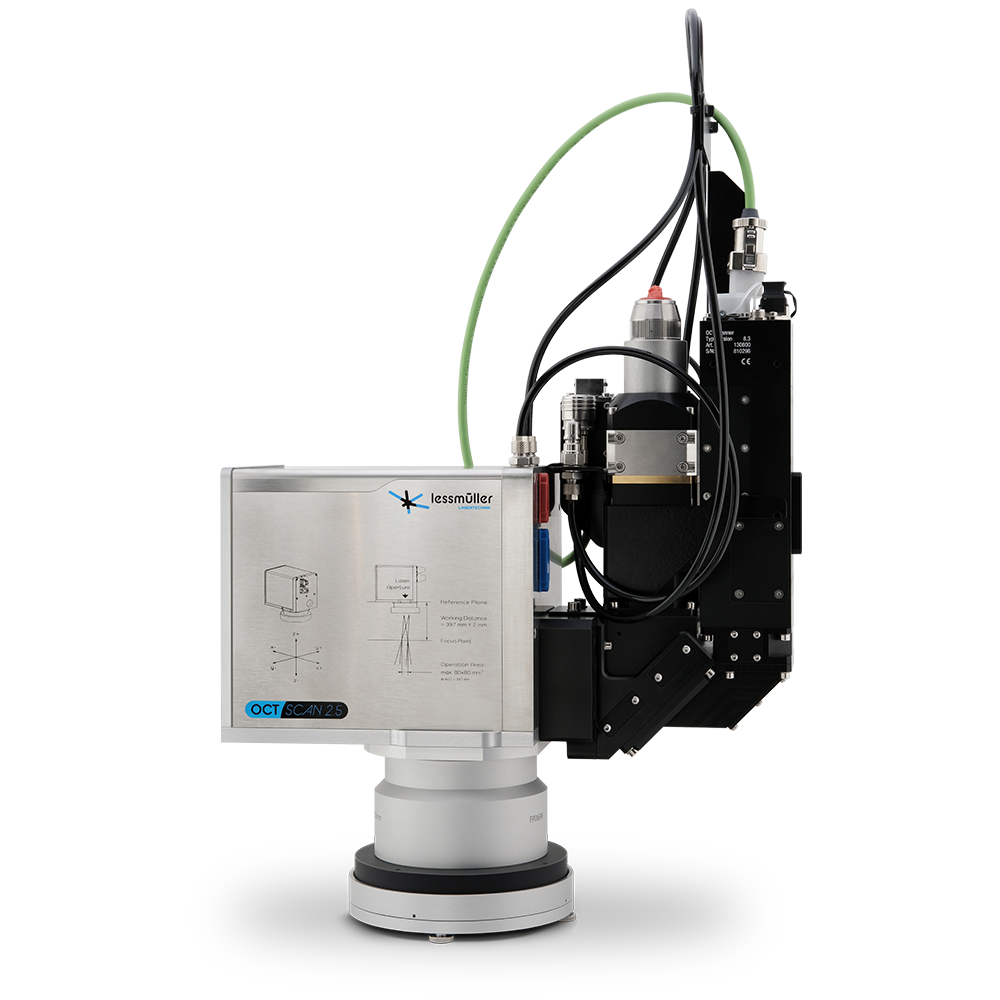
 Mechanical engineering
WELDING OPTICS & PROCESS MONITORING MECHANICAL ENGINEERING
Variable options for special quality assurance requirements in welding optics
The applications of our technology for mechanical engineering are as varied as the demands placed on it.
In any case, one thing is true – to ensure reliable production of laser-machined workpieces, the industry needs repeatable and consistent technologies for monitoring laser processes. Depending on your needs, Lessmüller Lasertechnik offers you a variety of solutions to choose from:
- OCT – Optical Coherence Tomography
- WELDEYE – Camera monitoring with external illumination
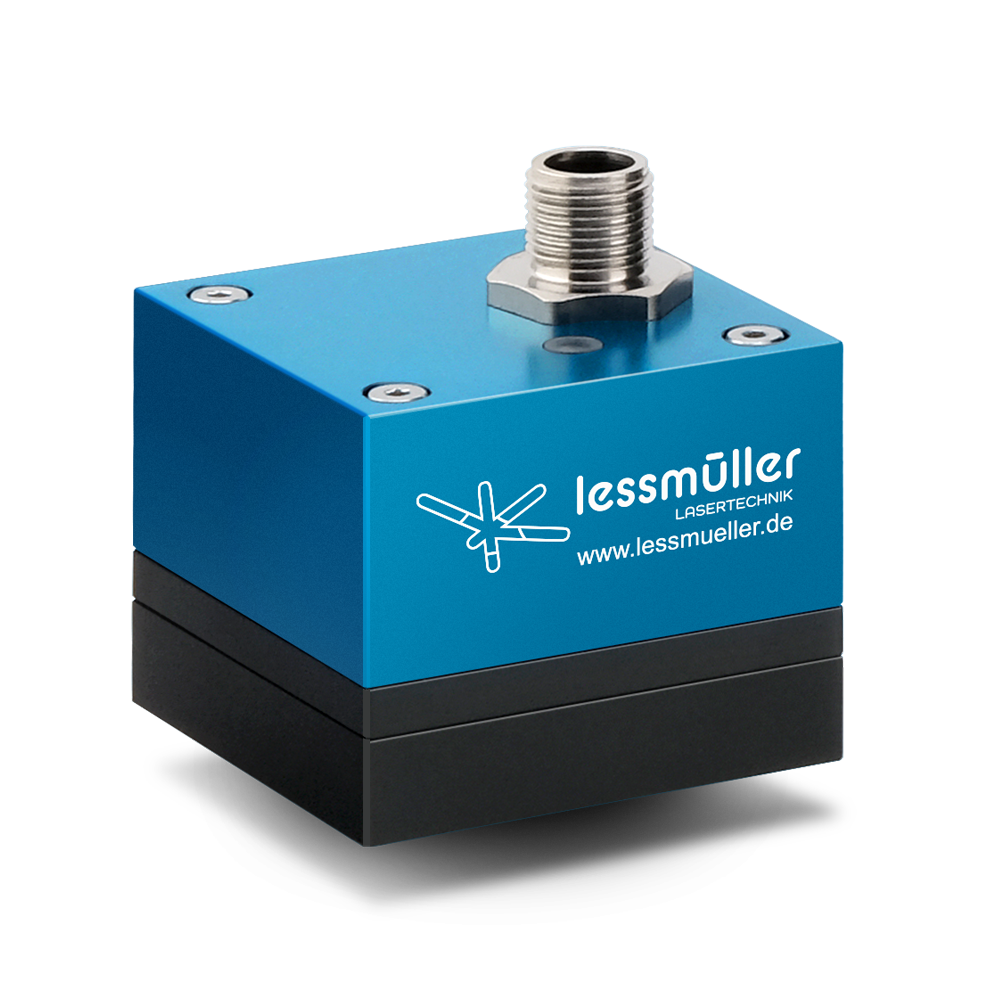
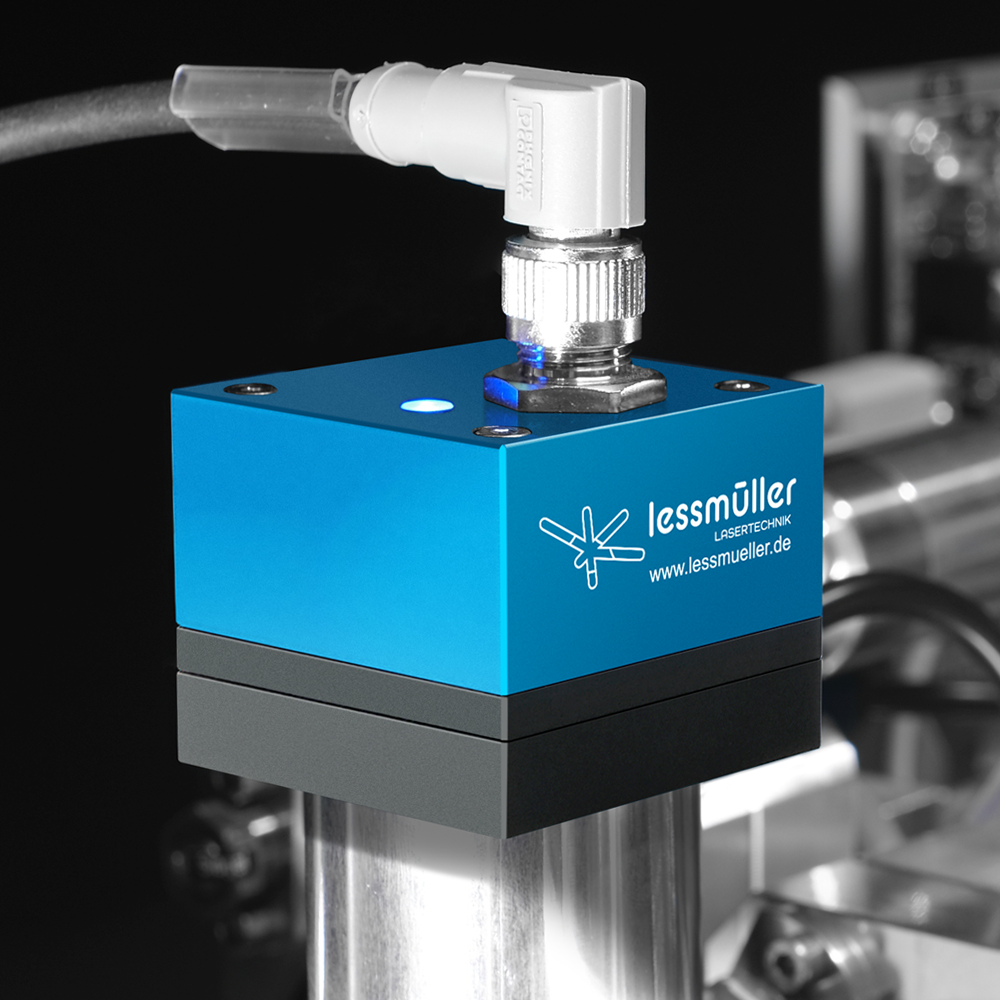
- WELDCHECK – photodiode based process sensor
Process monitoring with OCT
Process monitoring by Lessmüller Lasertechnik using optical coherence tomography, or OCT for short, offers the most comprehensive, accurate and variable options of the three systems mentioned in all process monitoring areas (pre-, in- and post-process).
The highly dynamic correction function of the system, for example, for regulating the welding position and focus position of the processing beam before or during the welding process, reliably ensures an optimum welding result.
The laser processing heads equipped with our OCT welding optics systems enable robust and fast online quality inspection and ensure highly accurate detection of weld defects.
One of the most important advantages of OCT welding optics with regard to welding quality is the possibility to measure the welding depth through the vapor capillary (the keyhole). The data for this is acquired parallel to the welding process on the workpiece – with micrometer precision, reliably, non-destructively and coaxially to the processing laser. The high resolution of OCT can be used, for example, to examine and qualitatively evaluate the surface porosity of a weld seam during laser welding.
In addition to quality assurance, the OCT (welding optics) measurement data can be used under suitable conditions to control the laser power in order to keep the welding depth constant.
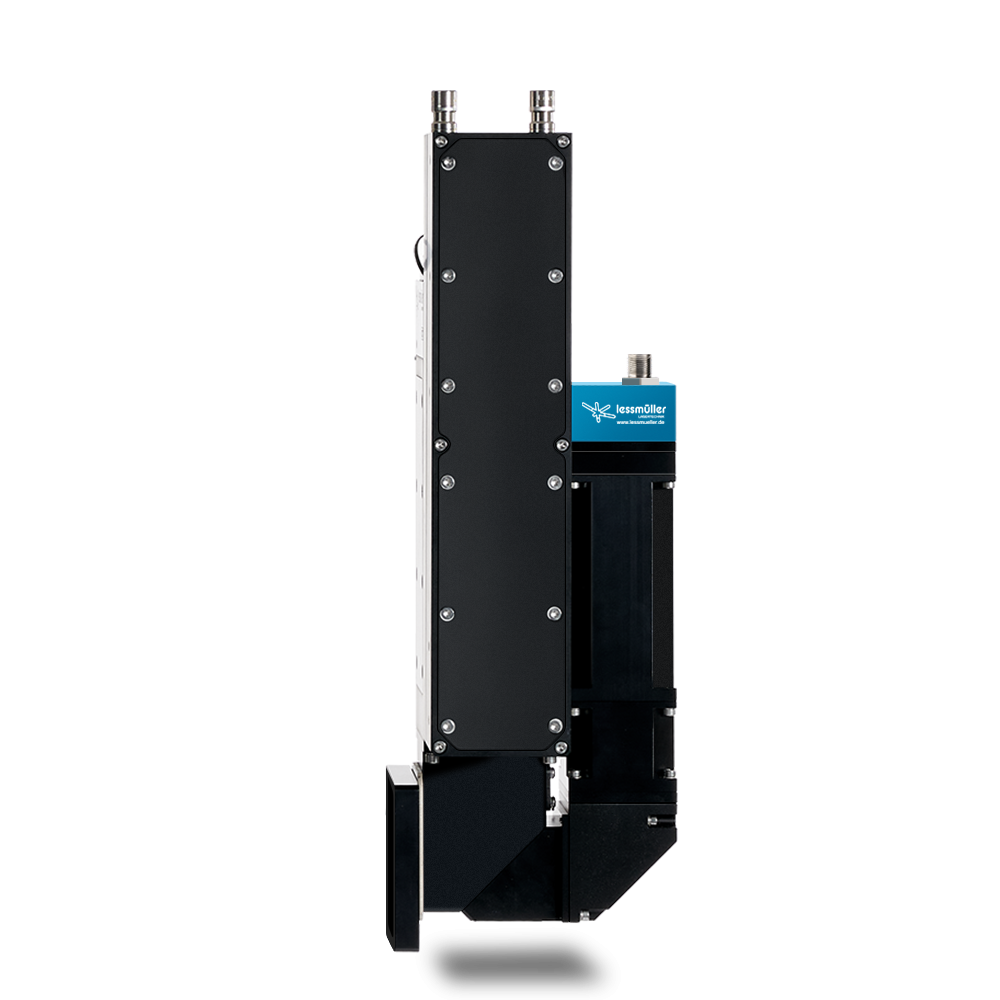
Setup including a BEO D70 welding optics with defocus gradient at laser power 4 kW and OCT monitoring; real-time weld penetration depth measurements with OCT at a welding speed of 80 mm/s (green dots), the blue line is the automatically determined statistical weld penetration depth value.
All of the above potential features of OCT systems and the three-dimensionality of the data offer advantages over conventional technologies in many ways. OCT systems enable highly productive and flexible production line layouts. OCT makes welding in volume production faster, more accurate, and therefore more cost-effective than is currently possible with conventional sensor technologies. OCT (welding optics) is a stable and reliable technology also for remote applications in industrial laser processing.
Process monitoring with WELDEYE welding optics
Effective laser processing requires precise automated online process monitoring. With WELDEYE, live images illuminated by high-power extraneous light are recorded by the system during the active welding process through the laser optics in order to measure the seam position of the molten pool and reflections of the cooled weld seam and thus visualize the continuous laser welding progress. These images are used, among other things, to map the environment of the welding process. The alternating acquisition of illuminated and non-illuminated images enables the evaluation of the process light and the cooled weld seam. Via the direct and fast communication interface, the determined values are transmitted to the robot steering software for pass/fail decision. WELDEYE is an established camera imaging technology widely used to ensure optimum quality welds. WELDEYE can either classify the measured values based on absolute limits or learn matching limits from reference welds. The WELDEYE system is used for synchronous recording and evaluation of image data and process parameters using camera- and ambient light-based real-time process visualization.

WELDEYE client software interface
Process monitoring with WELDCHECK
Space-savingly integrated into the processing optics or into the laser source, WELDCHECK real-time monitoring of the laser processing process is made possible by evaluating the process light intensity of different wavelength ranges. Variations in the emitted process light can accurately detect various defects. The effective as well as cost-efficient system serves in particular to determine production rejects according to definable, individual parameters.
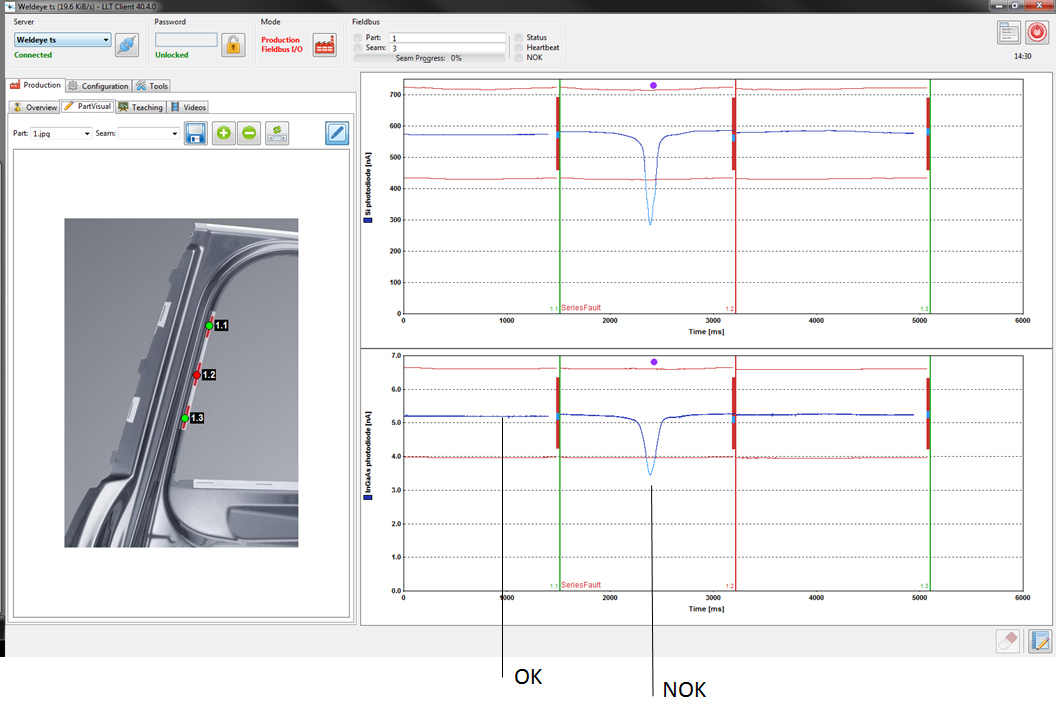
Fault detection with WELDCHECK
.
Welding optics for mechanical engineering
You don’t find your business here? No problem…

